I love the idea of making matching Easter dresses for my daughters. Of course, I had to wait until I had multiple daughters until I could try this out. Lo and behold, my second daughter’s first Easter was, unfortunately, during 2020 aka the year Easter was cancelled.
I made two absolutely gorgeous Easter dresses anyway.
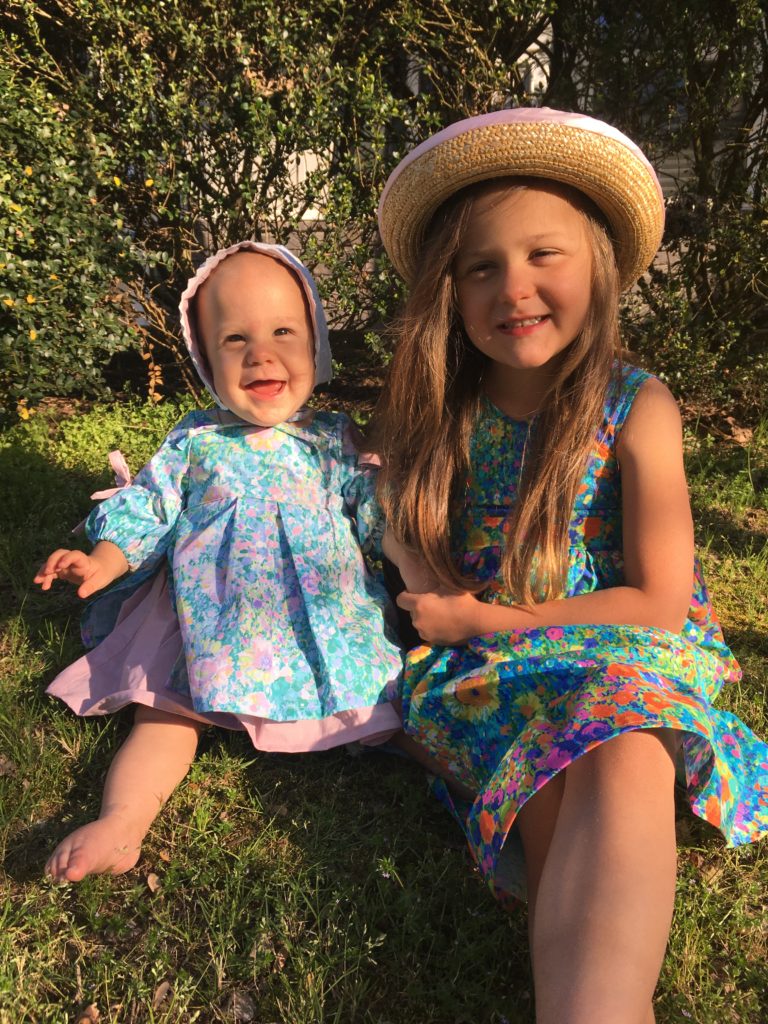
And yes, they wore them all day as we puttered around the house together.
The next year, we had a brand new baby. He was born on Palm Sunday, so the Lenten period leading up to Easter wasn’t a prime project planning and sewing time for me.
This year, I again had the idea to make Easter dresses… Usually, I like to begin pattern and fabric selection sometime in January. However, some unforeseen family events delayed the project too much and I decided to scrap it.
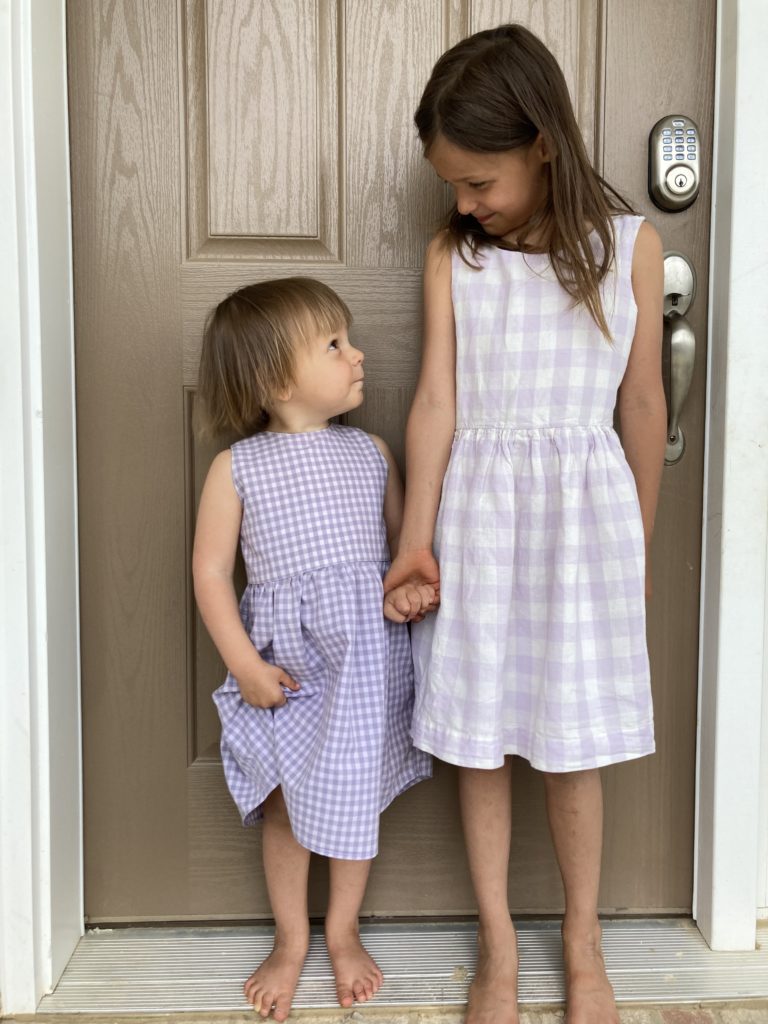
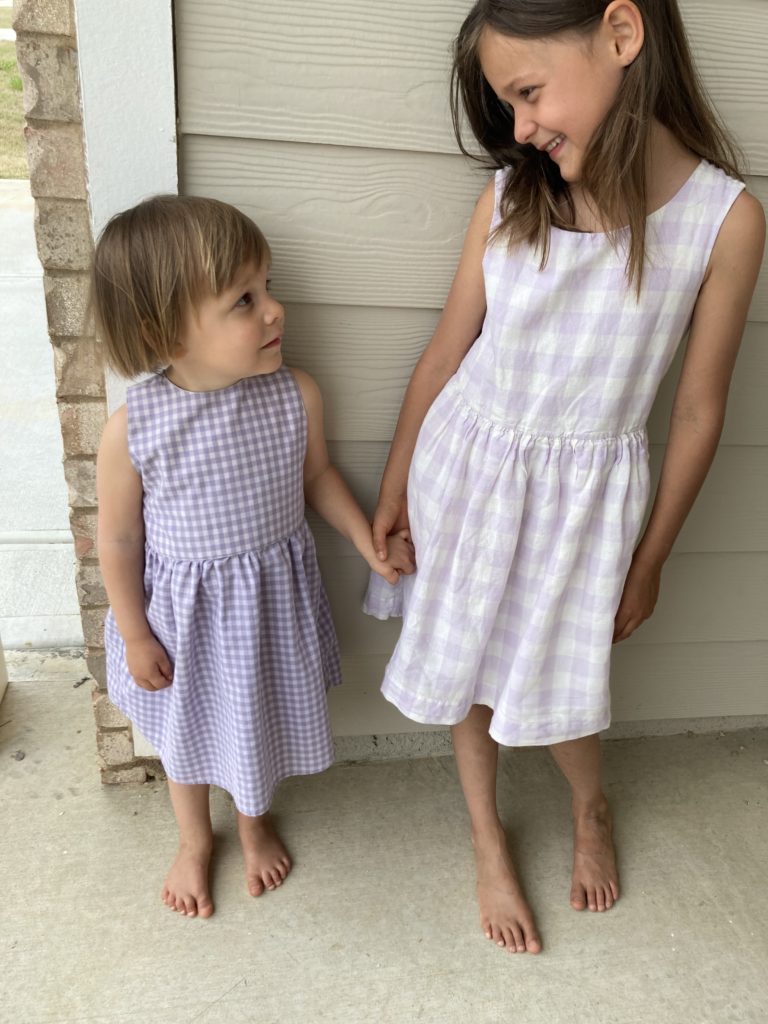
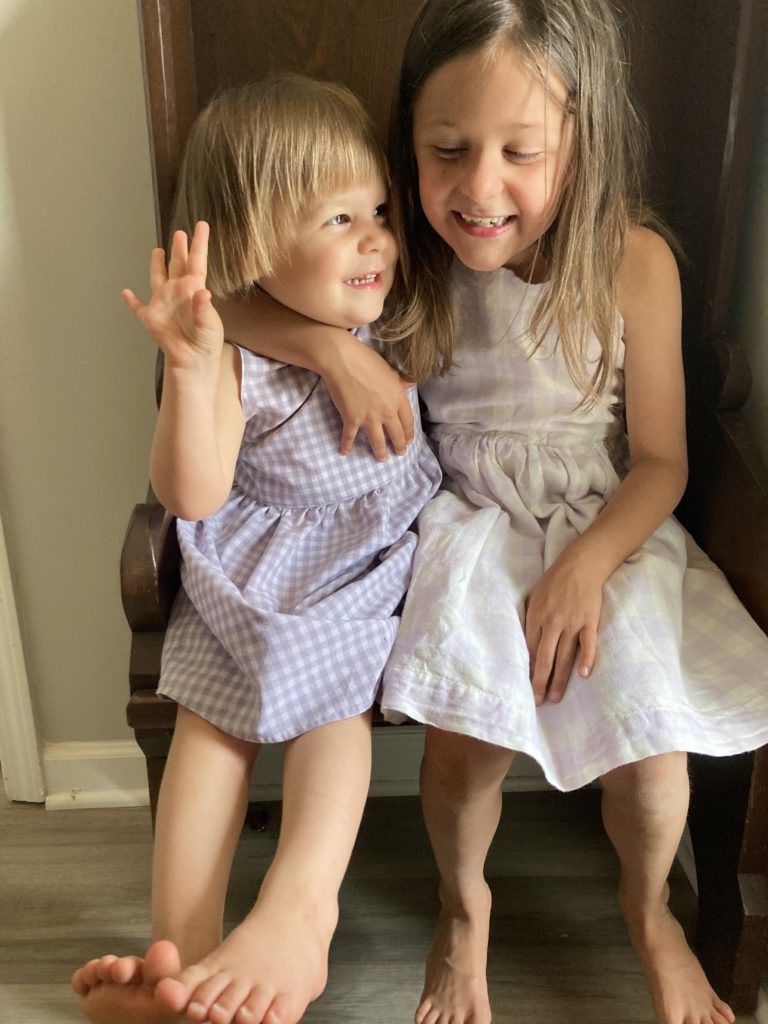
A few weeks before Easter, I went shopping for my eldest daughter and found a super cute lavender gingham dress at the consignment shop. When we got home, I realized that the pattern was really similar to an old shirt of my husband’s that I had in the to-donate bin in our garage. I have fond memories of him wearing that shirt on some of our first Easters together. Perhaps that’s why the dress for our older daughter stood out for me in the first place?
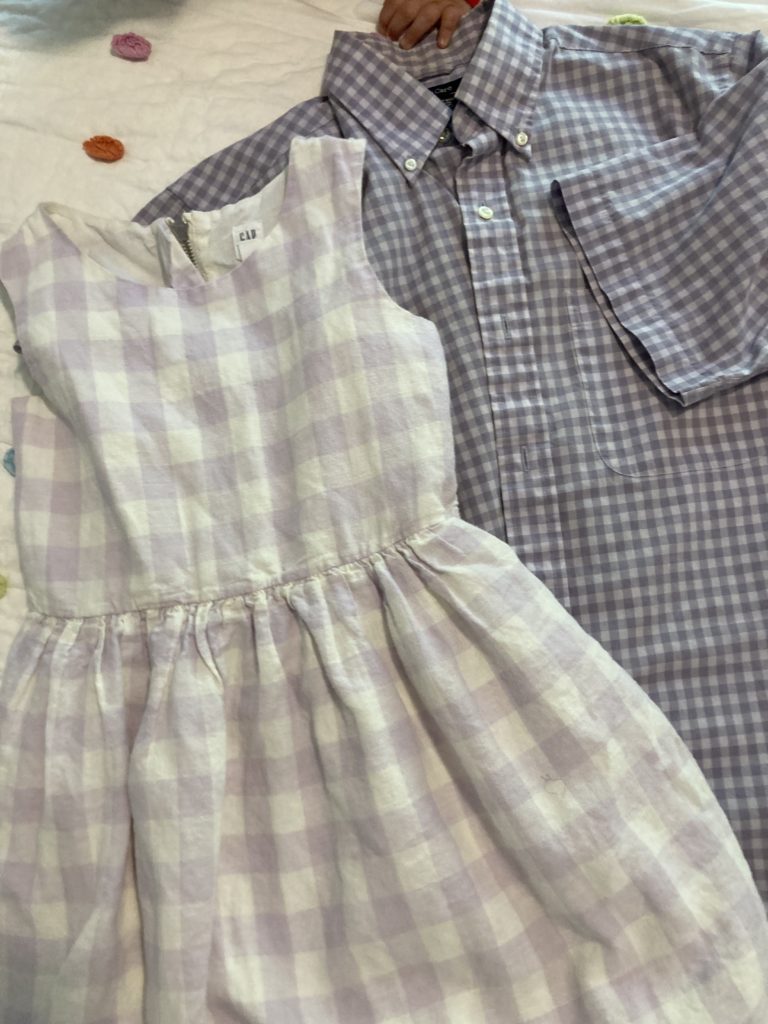
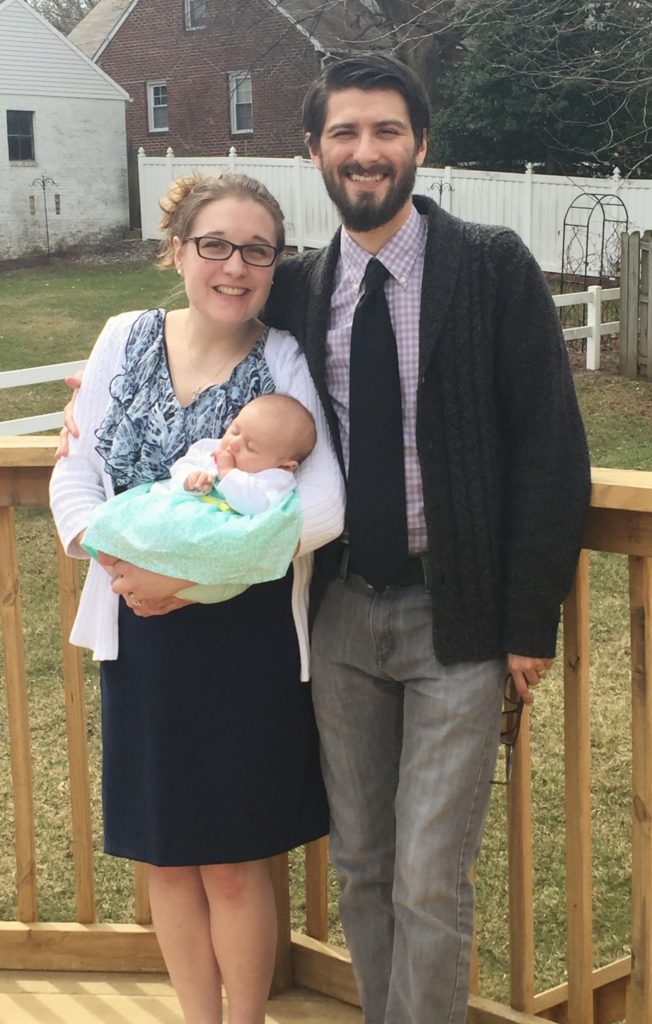
Right away, I knew that with fabric choice removed from the equation and having to fabricate only one dress, coordinating Easter dresses could actually be a reality for us this year. Yay!
Here’s how I did it:
Step 1: Determine the design
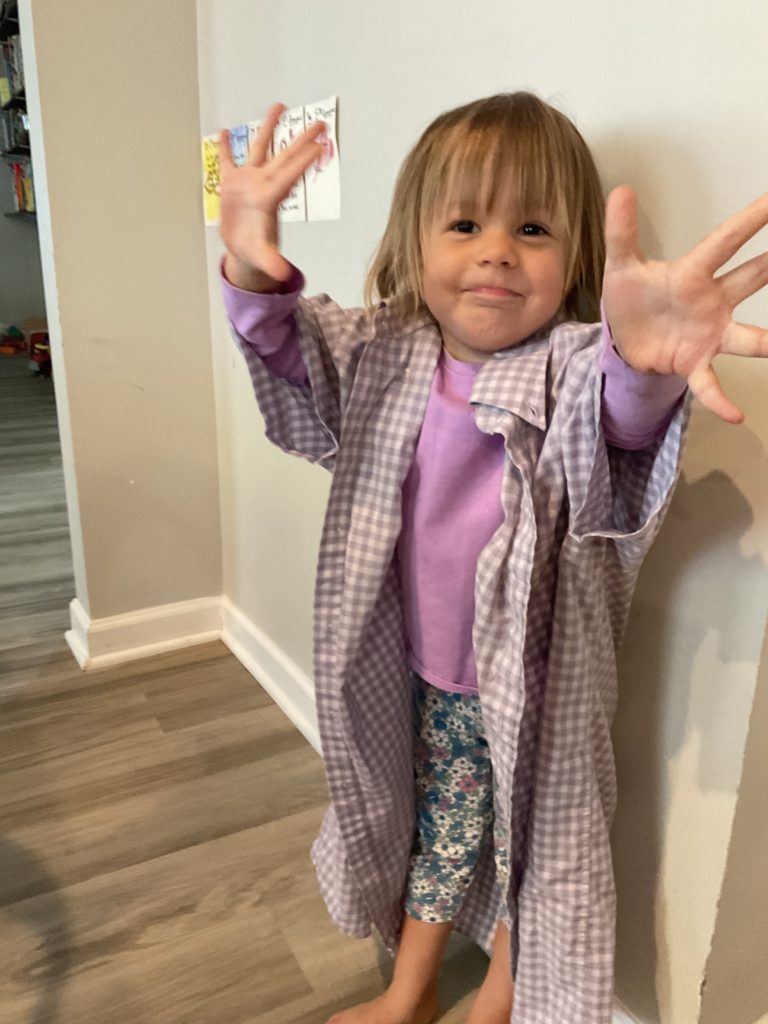
I had some ideas knocking around in my head and turned to Pinterest for inspiration. Because the shirt has a front pocket that looks oversized and silly on a two-year-old girl, I need to do something about the front orientation in the final dress… Obviously, the pocket is going away, but the fabric still has slight signs that it was there. Not exactly my favorite thing front and center on a dress. So, I decided to orient the placket down the BACK, rather than doing a simple resizing to keep it in front. Plus, this saves a lot of time with fashioning a closure and installing my own buttons or zipper.
Additionally, we’re in a bit of an awkward place clothing-wise, since my daughter is currently potty training. I feel like maybe dresses used to come with bloomers? Now they don’t and it kind of feels like something is missing. For this refashion, since the sleeves need to be removed, I had the idea to turn them into a pair of bloomers to cover the diaper/pull-up/underpants situation we might have going on by Easter morning.
Update: This project did not turn out with bloomers. The sleeves were a tad short and I ultimately decided to skip them. The idea is still a cute one and may make it into future shirt upcycles, though! It would work especially well when resizing a long sleeved men’s shirt, since there’s a lot of extra sleeve fabric to play around with.
Step 2: Take out the existing seams
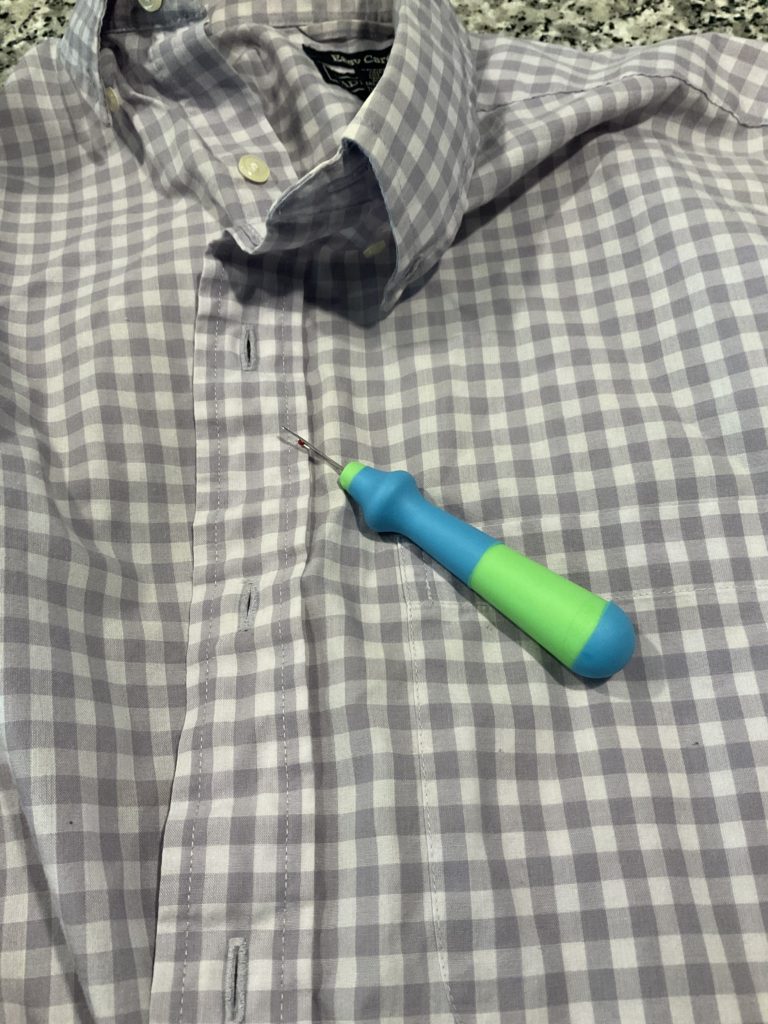
In the past, I have taken upcycled garments in two ways: one by snipping the existing seams with scissors and the other by using a seam ripper to gently undo the seams. Snipping is quick, but isn’t the most thorough method and wastes some fabric. Seam ripping gives you more fabric, but can be time consuming.
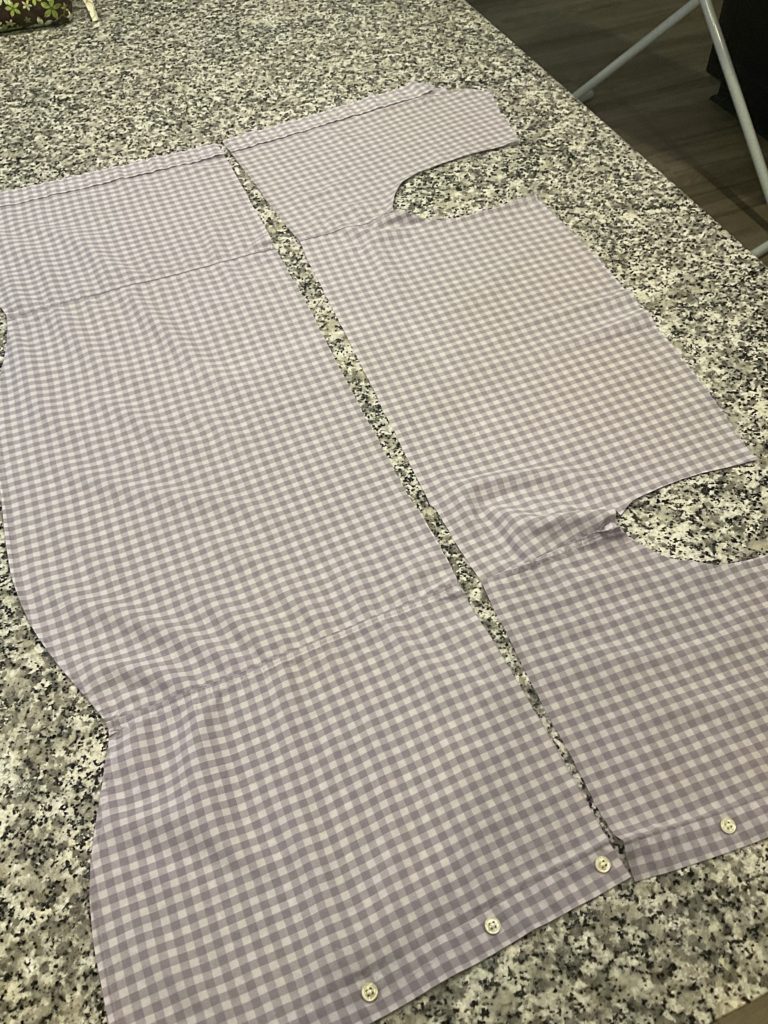
Since the shirt I’m using for this project isn’t especially large (men’s size small), I want to ensure I have enough fabric for the upcycle so I want to take it apart with the seam ripper. This gives me some nice big pieces to work with and helps me to visualize the final product.
Step 3: Cut the pattern pieces
When working with a refashion, some decisions are already made for me. I only have a certain amount of fabric and cuts have already been made, so I can only use a pattern that has pieces I can cut out of the ones from the pulled-apart shirt. Now, I *could* go online and look for a pattern that matches these narrow specifications, or…
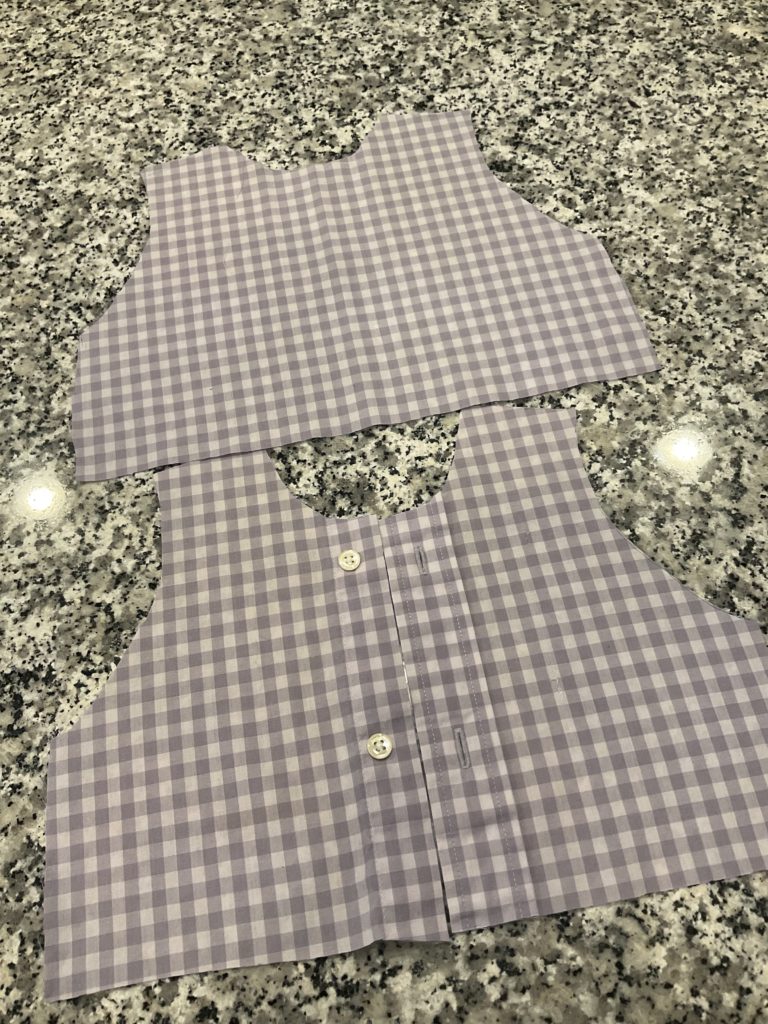
I pull a dress from my daughter’s closet to use as a rough template. I can use it to make bodice pieces, as well as determine the length of the skirt. I’m not concerned with skirt width – I’ll just use the bottom half of the shirt from placket to placket. I know that because this is a more narrow shirt, it’s not going to be the most ruffle-y skirt, but we’ll deal with that later.
I also want to line the bodice, so I pull an old scrap sheet that I had once tried to tea dye. (Talk about a failed experiment!) It’s a little (okay, a lot) on the meh, ugly side, but this is a lining and no one is going to see it anyway. Plus, *I* know that those are only tea stains. And now you do too.
Step 4: Sew the dress
With everything cut, I can get started sewing. I put the bodice main and lining pieces together, taking care to preserve as much of the original seams on the button bands, so I don’t have to go back and do anything funny later. I do end up putting the seam to the very edge of the button band, so I have to cut some small slits in the lining underneath where the original button bands are. If I were not lazy (which I sometimes am when it comes to sewing), I could measure this ahead of time, cut the button holes and finish them a little more professionally. But I’m not even going to pretend I have the patience for that.
I leave the bottom open for the skirt. The skirt is very easy to work. I simply add a basting row and gather slightly to match the width of the bottom of the bodice. As I mentioned, this is a men’s small shirt, so I don’t have a lot to work with. Were I to use a larger shirt, I would have a much fuller skirt. This is an important consideration if you’re thrifting a shirt specifically to make a little girl’s dress: more shirt equals more skirt.
To attach the skirt to the bodice, I match them right sides together, with the top of the skirt to the bottom of the bodice and sew a straight seam. To finish, I clip it with pinking shears. This is probably the laziest way to accomplish the seam, but hey! The dress is done. I actually went into my daughter’s closet to compare the dress with some of her regular dresses from the store and it stands up well to the others. Store bought stuff is just not that well made!
Step 5: Finishing details
So, I could leave the dress as is. But there are a few details I want to make the dress a bit more fit for a special occasion. First, of course, I must align the buttons and slit the lining fabric for buttonholes. The edges are raw, but the outer layer has the nice finished buttonholes from the original shirt placket, so no one can tell.
I also decide to add some top stitching to the bodice for a little extra cuteness. I’m glad I take the time to add this extra detail because it does elevate the dress a bit. The dress I have for my older daughter does not have a topstitched detail, which I think is unfortunate (although the dress is still plenty cute).
And that’s it! A fun Easter dress refashion from an old shirt of my husband’s. I just love free clothes!
